
FIBER & CABLING
Fiber Optics for Beginners
Learn the technician essentials of fiber types, connectors, optics, polarity, cleaning, bend radius, labeling, testing, and disciplined link troubleshooting.
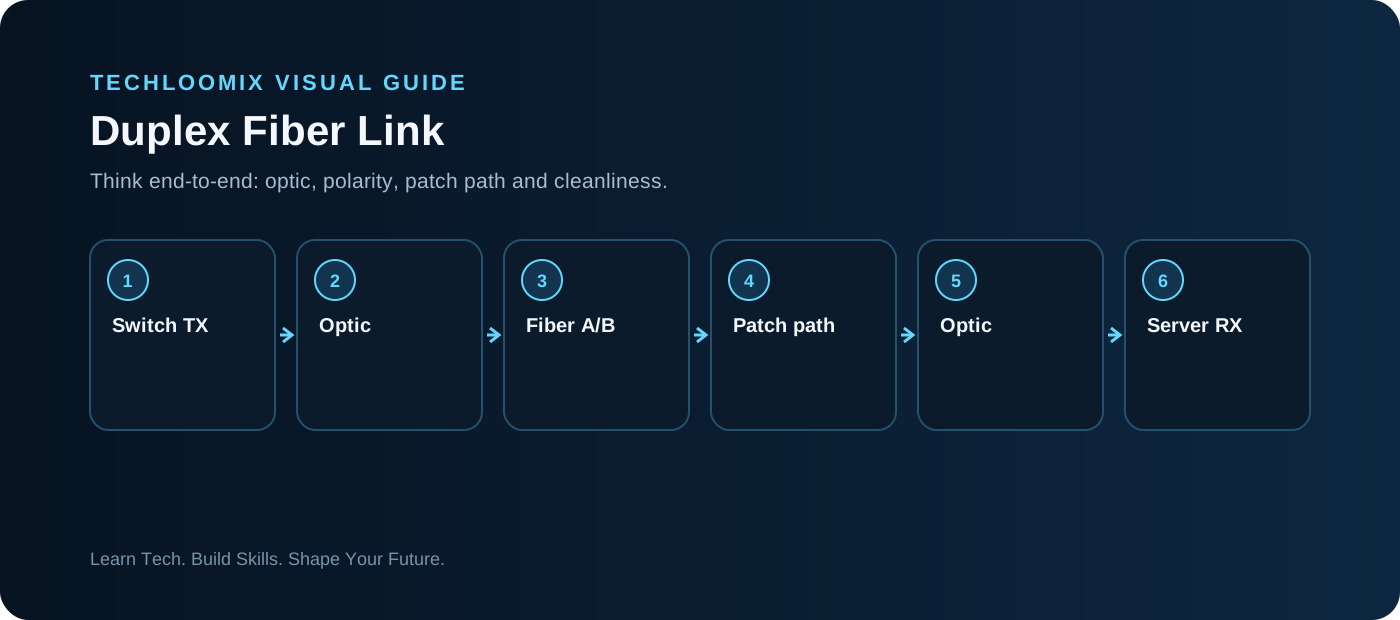
DUPLEX FIBER LINK
Fiber carries light, not electrical signals
Optical links use glass fiber and transceivers. Fiber type, optic type, wavelength, reach and equipment compatibility must match the design.
Single-mode and multimode serve different designs
Single-mode is commonly selected for longer reach and many high-capacity applications; multimode is common in shorter links. Never choose only by connector shape.
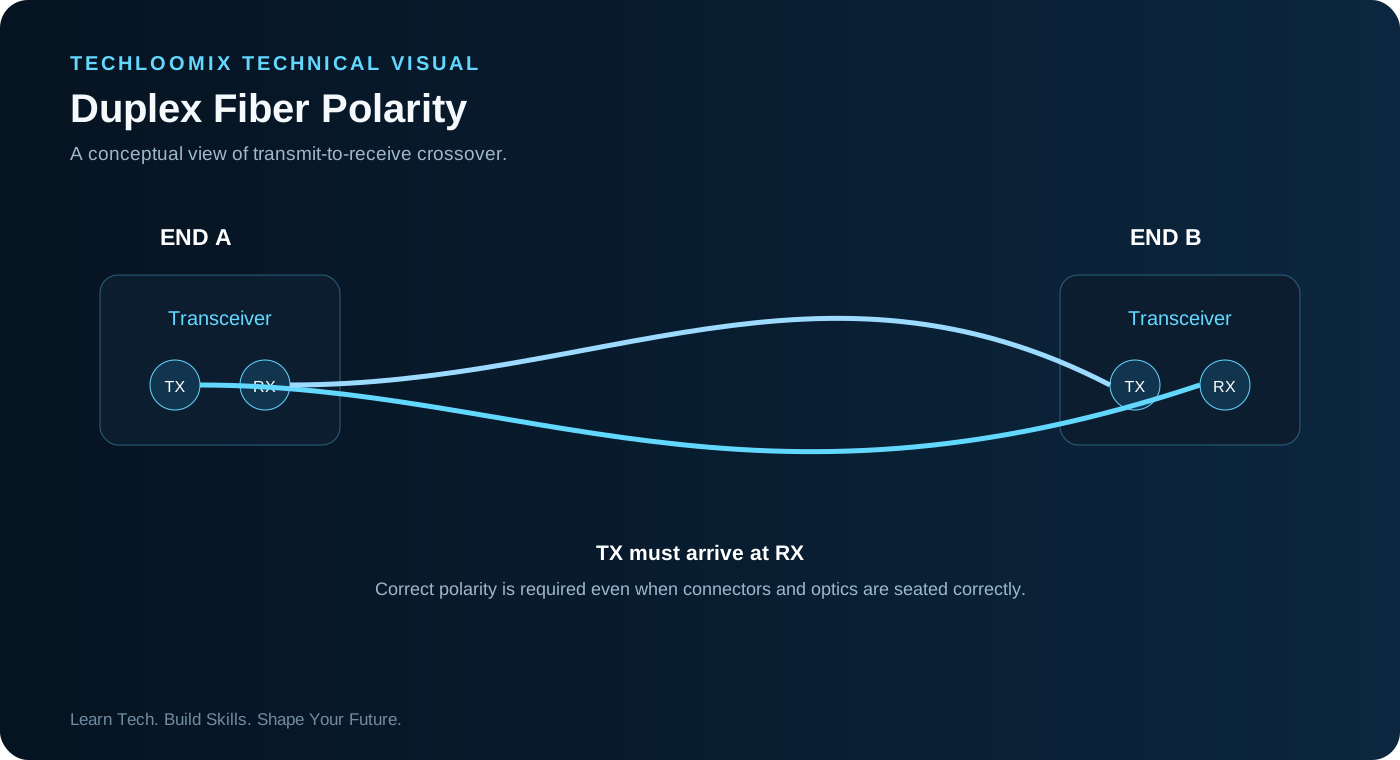
Polarity must be correct
A duplex link needs transmit on one side to reach receive on the other. Incorrect polarity can leave a physically intact link down.
Cleanliness is a technical requirement
Contamination can increase loss or cause unreliable performance. Follow approved inspect/clean/connect procedures and never stare into fiber.
Bend radius and routing matter
Over-bending, crushing or poor pathway management can damage fiber or degrade performance. Respect cable specifications and site routing standards.
Troubleshoot with records
Use port maps, labels, optic details, patch path, link state and approved test results. Random repatching creates new uncertainty.
HANDS-ON LAB
Hands-on exercise: fiber-link fault tree
- Draw a duplex fiber link from switch to server.
- Label TX/RX, optics, patch points and fiber type.
- Create five possible causes of link down: contamination, wrong optic, polarity, poor seating, wrong patch path.
- For each cause, write the safest observation or approved test that could confirm it.
- Create a ticket note template for fiber incidents.
TROUBLESHOOTING WORKFLOW
NEXT STEP
Practice. Document. Explain.
Reading creates familiarity. Hands-on work plus clear documentation creates evidence of skill.