
NETWORKING
Network Troubleshooting Guide
A repeatable evidence-driven workflow for diagnosing connectivity problems without random changes or unnecessary replacement of hardware.
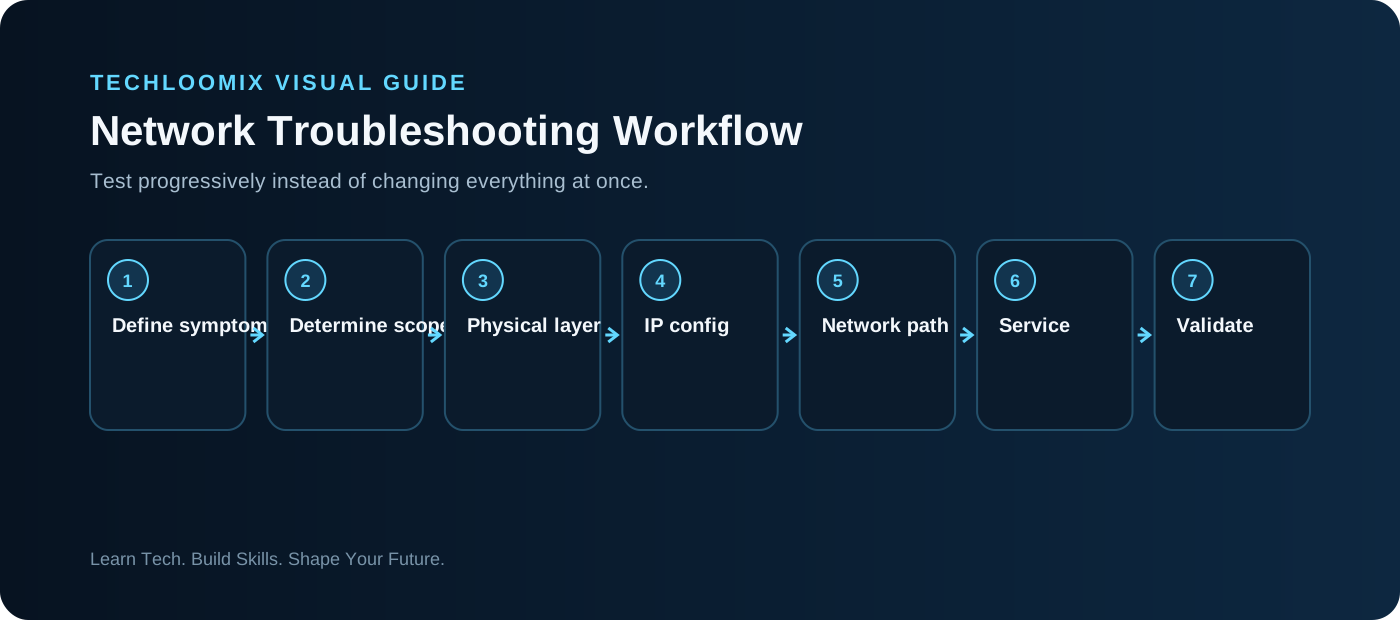
SEVEN-STAGE TROUBLESHOOTING LOOP
1 — Define the symptom precisely
Replace “network is down” with an observable statement: one workstation cannot reach one application by name, but other users can. Precision immediately narrows the search.
2 — Determine scope
Ask whether one user, one device, one VLAN, one site or everyone is affected. Check what still works. Scope helps separate endpoint problems from infrastructure or service incidents.
3 — Check the physical layer
Power, cable seating, optics, link lights, interface state and recent physical work come before complex configuration changes.
4 — Verify client and interface configuration
Check IP address, prefix, gateway, DNS, VLAN/interface context and expected network. Capture the current state before renewing or changing settings.
5 — Test progressively
Test the local stack, local peer or gateway, remote IP, DNS lookup, service port and application. Each successful test moves the fault boundary.
6 — Use evidence
Interface counters, logs, route information, ARP/neighbor tables, monitoring and authorized packet captures can validate hypotheses.
7 — Validate and document
After the fix, reproduce the original action successfully. Record cause, action, result and any follow-up rather than closing on assumption.
HANDS-ON LAB
Hands-on lab: troubleshoot three controlled failures
- Create an isolated lab with at least two endpoints.
- Scenario A: wrong default gateway.
- Scenario B: wrong DNS server.
- Scenario C: disabled interface or disconnected virtual cable.
- For each scenario, predict the symptom before testing.
- Use the same workflow each time.
- Document which test separated one failure from another.
TROUBLESHOOTING WORKFLOW
NEXT STEP
Practice. Document. Explain.
Reading creates familiarity. Hands-on work plus clear documentation creates evidence of skill.